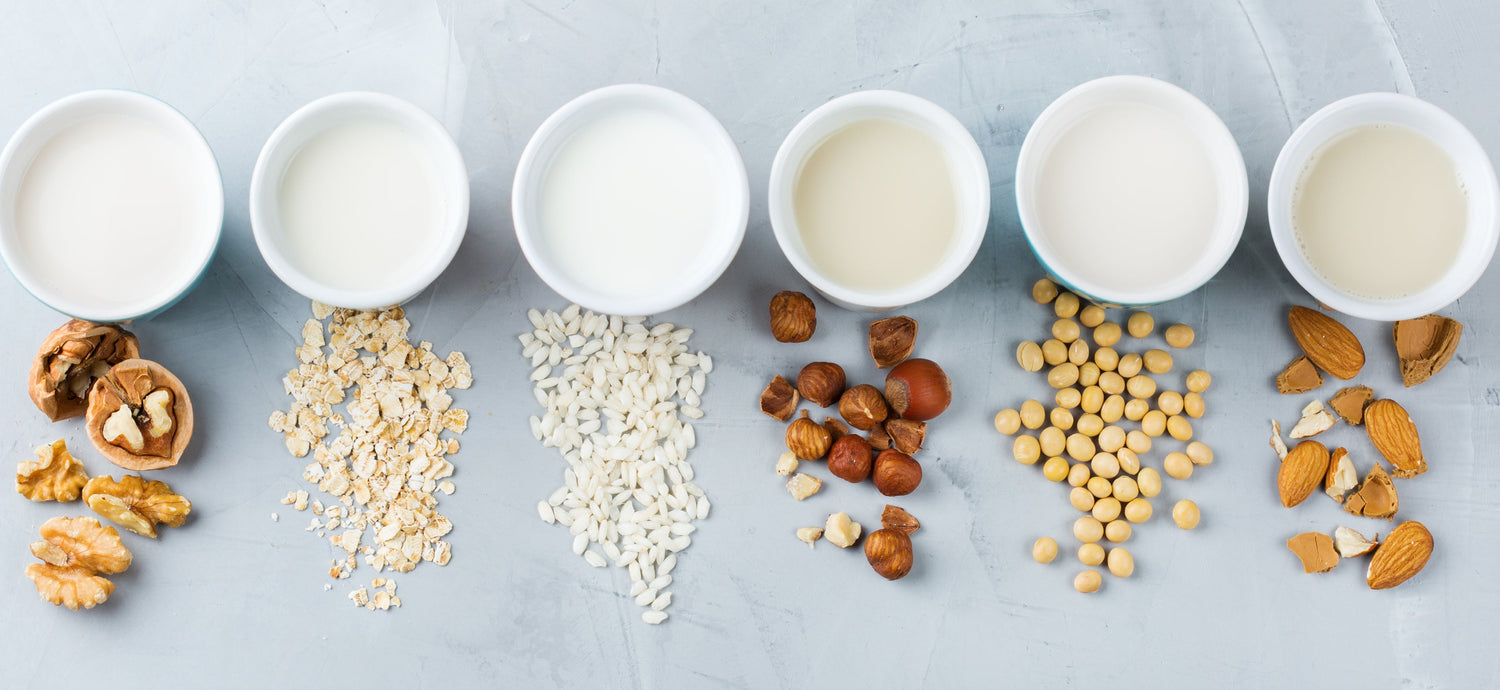
If you’re sold by the idea of ditching the dairy, and are sick of paying for the overpriced, over processed alternative milks from the supermarkets, why not try making your own?! It really is much easier than it sounds, and once you’ve mastered the basic recipe the possibilities for customisation are endless!
No matter which nut, seed or grain milk you choose to make, the basic recipe is the same, using 1 cup nut/seed/oat to 4 cups water in the final product. The difference comes with whether your nut needs toasting, and/or overnight soaking. In the nut family you can use almond, hazelnut, cashew, pistachio, walnut and macadamia, in the seed category there’s hemp, sunflower seed, flax seed and sesame see. The rule of thumb is, if it has a skin, it will need an overnight soak, even if you’ve toasted it. This recipe is even suitable to make oat milk. So here you go, give it a try, save a tonne of cash and avoid all those added nasties!
Ingredients:
1 cup raw, deshelled nuts/seeds/oats
Water for soaking
Pinch salt
4 cups water for the final product (filtered is best if you have it)
Optional extras: 1 tsp vanilla for a more flavoursome milk
2-3 dates for a sweeter milk or stevia to keep it sugar free
1 tbsp flax seeds to thicken
You will also need a high powered blender, a nut bag/cheese cloth and a suitable glass storage jar such as a mason or milk jar
Method:
(Optional) first step: toasting
- Place your nuts on a baking sheet and roast in a preheated oven at 1800C for 10-15 mins. Alternatively you can dry fry in a pan, just keep the nuts moving so they don’t burn. You will know they are ready when the skins (if your nut has them) are loose and easy to peel.
- Almonds and hazelnuts are the most commonly toasted nuts, though you can also use them untoasted. Toasting isn’t mandatory, but it does affect the flavour. For example, toasting almonds brings out the marzipan-esque notes, whilst toasting hazelnuts brings out the Nutella type flavour. Who wouldn’t want that in their hot chocolate!! All nuts and seeds increase in flavour when they’re toasted, so why not experiment to see which you prefer. Though, if you’re opting for a raw product, avoid the toasting process.
- Second step: overnight soaking
- If your nut/seed needs soaking, place in a bowl and cover with cold water. If not simply rinse to ensure they are clean and move on to the third step.
- Almond, walnut, hazelnut, brazil nut, pistachio, pumpkin seed, sunflower seed, brown/black sesame seeds do need overnight soaking, whilst cashews, macadamias, hemp seeds and oats do not.
- Leave overnight in the fridge, activating the nut/seed to make the nutrients more bioavailable
- Drain with a sieve and rinse nuts/seeds with fresh water. They will look swollen and the discarded rinse water will have a brown tint
Third step: blending
- Place your nuts in a blender with 4 cups fresh water
- At this stage add your pinch of salt and whichever optional extras you choose
- Blend 2-3 minutes until creamy
(Optional) fourth step: sterilising
- This step will kill the naturally occurring microorganisms in your equipment and slightly prolong the shelf life of your nut milk from 2-3 days in the fridge to 3-5.
- While you are blending, or immediately before, place your cheese cloth/nut bag and storage jar, plus lid, in boiling water. Boil for 5 minutes discarding the water immediately prior to filling. Take care as your equipment will be hot
- Strain your blended nuts through your cheese cloth/nut bag into your glass container, squeezing at the end (with clean hands) to increase the creaminess and thickness of your final product.
- You may find it helpful to use a funnel to fill your bottle, just remember that this can also be sterilised alongside your cheese cloth/nut bag
- You may not want to discard the solid material as you can use the leftovers as nut meal in recipes by toasting until dry
Final step:
- Your nut milk is now ready to use! Stopper you bottle and store in the fridge. Use on cereals, in teas or coffees and smoothies…however you would use your normal milk.
What’s next? If you’ve mastered the basics, how about trying mixes of nuts, or nuts and seeds, or even grains? You could even try adding desiccated coconut, cocoa powder, chai spices or turmeric. The list of possibilities to customise your milk really is endless, giving you complete control over both your flavour and your nutrition. We like that!!
For more tips on nutrition, exercise or recipe ideas, check out our blog.


Leave a comment
All comments are moderated before being published.
This site is protected by hCaptcha and the hCaptcha Privacy Policy and Terms of Service apply.